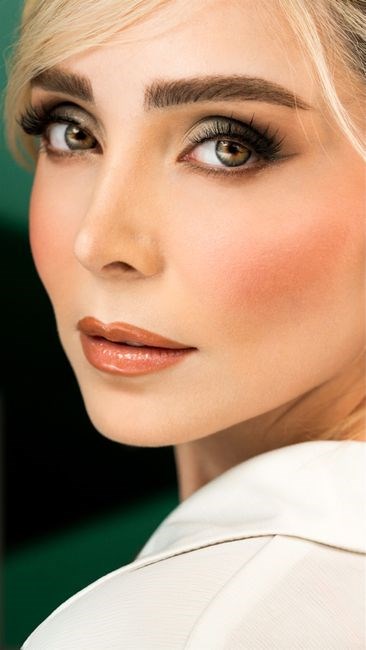
Understanding Highlighting and Contouring
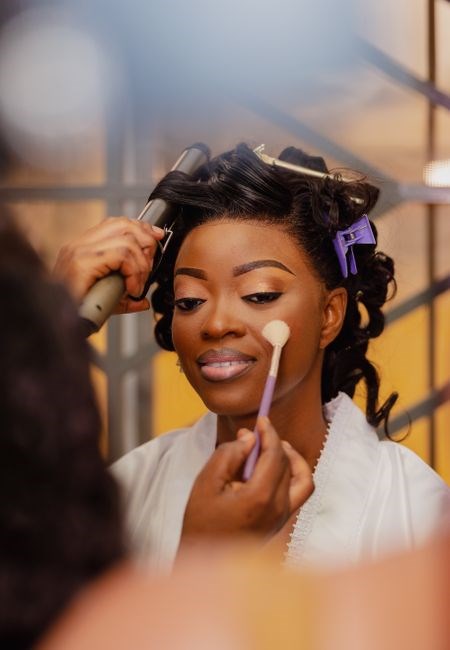
Highlighting and contouring sculpt the face by adding luminous peaks and subtle shadows. Highlight lifts cheekbones, brow bone, and cupid’s bow, while contour defines jawline, temples, and nose. Together they create depth, balance, and a polished, camera‑ready look. Mastering these techniques. !!
1.1 What is Highlighting?
Highlighting is the art of accentuating the high points of the face to create a radiant, sculpted appearance. By applying a luminous product—whether a cream, powder, or liquid—on the areas that naturally catch light, you enhance cheekbones, the bridge of the nose, the brow bone, and the cupid’s bow. The goal is to reflect light, giving the skin a dewy, youthful glow that balances the shadows created by contouring. A well‑executed highlight can lift the overall look, add dimension, and make features pop. It’s not just about brightness; it’s about strategic placement and blending to maintain a natural transition between highlighted and untouched skin. The first step is to choose a shade that complements your skin tone: cool undertones benefit from pearlescent or silvery hues, while warm undertones shine best with golden or champagne tones. Next, consider the finish: a matte highlighter will give a subtle glow, whereas a shimmer or metallic finish offers a more pronounced luminosity. When applying, start with a small amount; you can always build intensity. Use a fluffy brush or a damp sponge for powder formulas, and a fingertip or a small brush for creams. For liquids, a precision brush or a small sponge works well. Begin by tapping the product onto the high points, then blend outward to avoid harsh lines. The cheekbones are the most common spot: apply from the inner corner of the eye, across the bone, and stop just before the ear. The brow bone receives a thin line just above the brow, enhancing the arch. The cupid’s bow receives a subtle glow to lift the lips. The bridge of the nose is highlighted by a small dot or a thin line, but avoid overdoing it to keep a natural look. Finally, blend with a clean brush or a damp sponge to soften edges. A good highlight can transform a flat face into a three‑dimensional masterpiece, making the skin appear fresh and vibrant.
Use a light hand and build gradually, as over‑application can look cakey and detract from the sculpted effect.
Remember to adjust intensity based on lighting conditions; brighter environments may require a lighter touch, while dimmer settings allow for a richer glow. Also, consider the season—lighter, more translucent shades work best in summer, whereas richer, warmer tones suit fall and winter. With practice, you’ll master the balance between subtlety and drama, ensuring your highlight always feels intentional and polished. Experimenting with formulas reveals your best glow.

1.2 What is Contouring?
Contouring is the deliberate placement of a darker shade to create shadows that define facial structure. By applying a product slightly cooler or deeper than your natural skin tone, you sculpt cheekbones, jawline, temples, and the nose. The technique relies on light falling on high points; adding shadow in low points creates depth and a more angular appearance. Start by selecting a contour shade that matches your undertone: cool contours suit cool skin, warm or neutral shades suit warm or neutral complexions. The formula—cream, powder, or liquid—affects application; powders give a matte finish, creams a dewy look, liquids a blendable, long‑lasting option. Use a small angled brush for precision. Begin at the hollows of the cheeks, sweeping from the ear toward the nose, then blend outward. For a sharper jawline, apply along the lower edge of the jaw and blend upward. The temples receive a subtle line just above the hairline to lift the brow. When contouring the nose, a small line on the sides can narrow its appearance; avoid a full line across the bridge to prevent a flat look. Always blend until the transition is seamless; harsh lines break the illusion of natural shadow. The key is to build gradually—less is more. Over‑contouring can look harsh, especially in natural light. Finally, set the contour with a translucent powder to lock the shape and reduce shine. With practice, contouring transforms the face into a sculpted canvas, enhancing features and adding dimension. This subtle sculpting brings balance to the face, making features pop. finish.!!
Tools and Products
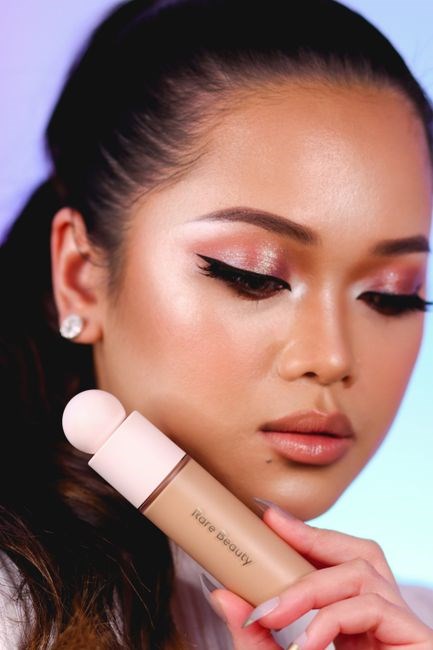
Choosing the right tools shapes success. Brushes give precision; sponges offer a softer finish. Creams blend seamlessly, powders control shine, and liquids deliver long wear. Match texture to skin type, and pick shades that complement your undertone for flawless results!
2.1 Brushes vs. Sponges
When sculpting with highlight and contour, the choice between brushes and sponges can dramatically alter the outcome. Brushes, with their defined bristles, allow for pinpoint precision and controlled application. A dense, angled brush is ideal for placing a subtle highlighter on the cheekbones, while a flat, fluffy brush can deliver a soft, diffused contour along the jawline. The texture of the brush determines how the product spreads: stiff bristles keep pigment concentrated, whereas softer bristles blend seamlessly into the skin;
Sponges, on the other hand, excel at creating a natural, dewy finish. A damp beauty sponge, when lightly tapped, lifts the product into the skin, producing a “painted-on” effect that mimics a flawless complexion. For contour, a damp sponge can be used to feather the shade into the hollows, ensuring no harsh edges. When highlighting, a sponge can be used to apply a sheer wash of light, giving a subtle glow that feels like a second skin.
Choosing the right tool depends on desired intensity and finish. For a matte, sculpted look, a brush is often preferred. For a radiant, airbrushed vibe, a sponge is the go-to. Many professionals recommend starting with a brush for precise placement, then using a sponge to blend and soften the transition between highlighter, contour, and base. Experimentation is key: test both tools on a small area to see which delivers the finish that best matches your skin type and aesthetic goals. Practice makes perfect keep experimenting.
2.2 Cream vs. Powder Formulas
Choosing between cream and powder is pivotal for both highlight and contour. Creams, with their emollient base, glide into the skin, offering a luminous, dewy finish that mimics natural radiance. They are ideal for highlighting because the light-reflecting pigments disperse evenly, creating a subtle, skin‑like glow. For contour, a creamy shade can be blended into hollows and jawlines, producing a soft shadow that feels integrated rather than harsh.
Powders, conversely, provide a matte, long‑lasting finish. Their fine texture adheres to the skin’s surface, making them perfect for contouring where a defined, sculpted look is desired. Powder highlights, when applied with a light hand, can give a subtle shimmer without the risk of caking. The key with powders is to keep the application light and build gradually to avoid a cakey appearance. Both formulas can be layered, but creams shine on humid days while powders excel in dry or high‑altitude environments;
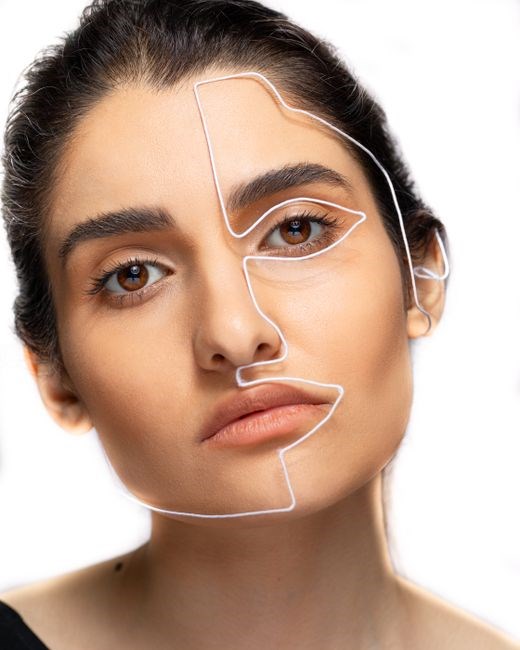
When choosing between cream and powder, consider skin type, climate, and desired finish. Oily skin benefits from matte powders that control shine, while dry or mature skin prefers creamy formulas that hydrate and add subtle luminosity. In humid conditions, a lightweight powder with a satin finish can prevent creasing; a creamy highlighter applied with a damp sponge gives a dewy glow that lasts. Blend edges of both formulas into the skin with a clean brush or sponge, ensuring no harsh lines. Blend with care. and glow.
Skin Preparation
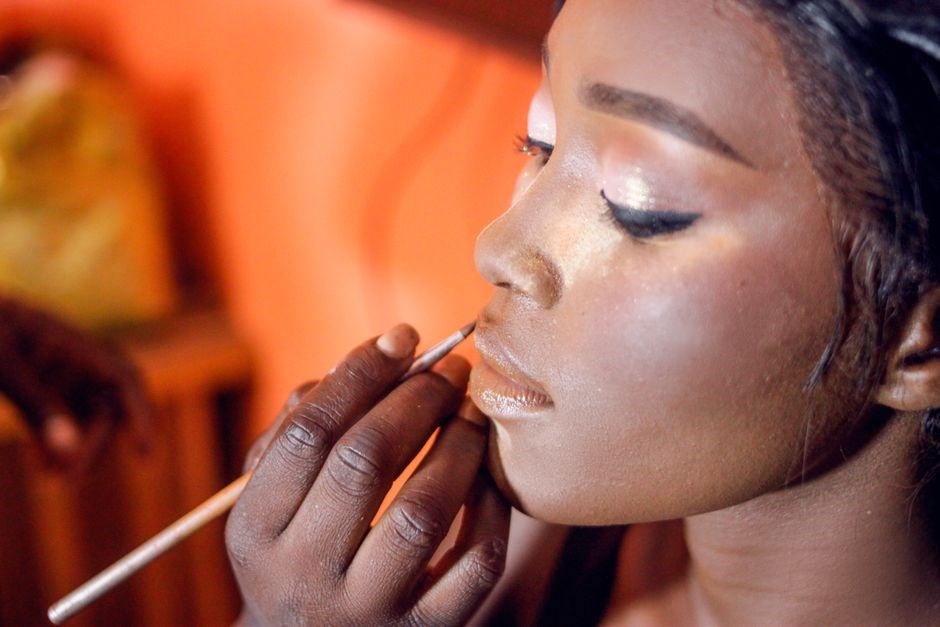
Start with a clean canvas: cleanse, moisturize, and apply a primer that suits your skin type. This base locks in products, smooths pores, and extends wear. A well‑prepared surface ensures highlights pop and contours stay sharp, giving a flawless finish. and a radiant glow!!!
3.1 Cleanse and Moisturize
Begin by removing makeup and impurities with a gentle cleanser suited to your skin type—foaming for oily, cream for dry. Massage in circular motions, then rinse with lukewarm water. Pat dry, avoiding harsh rubbing. Follow with a lightweight, non‑comedogenic moisturizer that hydrates without clogging pores. For oily skin, a gel or serum‑based formula works; for dry skin, a richer cream or oil blend adds needed moisture. Apply in upward strokes to promote circulation. Allow the moisturizer to absorb fully before priming; this creates a smooth, hydrated base that enhances product adhesion and longevity. If you have sensitive skin, choose fragrance‑free options and consider a soothing aloe or chamomile‑infused lotion. For a radiant glow, incorporate a vitamin C serum or hyaluronic acid before moisturizing to boost antioxidant protection and plumpness. This dual step ensures your skin is clean, supple, and primed for flawless highlight and contour application. Choosing the right moisturizer sets the tone for highlight and contour. Light, gel‑based creams work best for oily or combination skin, while richer, cream or oil blends suit dry or mature complexions. Look for ingredients like glycerin, hyaluronic acid, ceramides, and niacinamide to lock in moisture and calm redness. If you’re prone to breakouts, opt for a fragrance‑free, non‑comedogenic formula. A light, non‑greasy base keeps skin fresh day for all flawless finish. This balanced base supports both subtle radiance and a matte finish, adapting to lighting scenario.
3.2 Primer for Long‑Lasting Finish
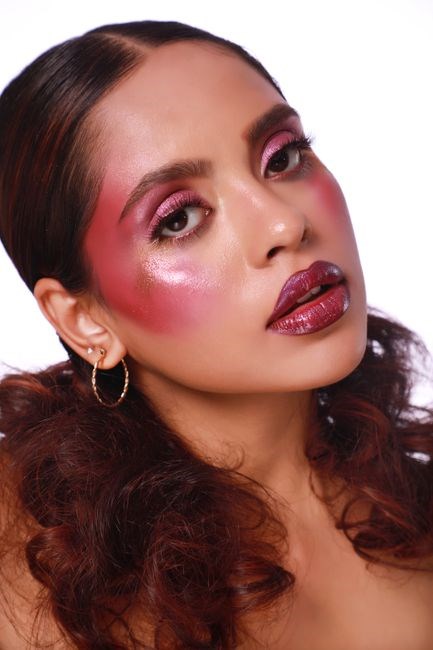
Choosing the right primer is essential for a lasting highlight and contour. For oily skin, a mattifying primer with silicone or clay controls shine and smooths the canvas; for dry or mature skin, a hydrating primer with glycerin, hyaluronic acid, or a light emollient lifts pores and prevents flakiness. A color‑correcting primer can neutralize redness or sallowness before you apply highlighter or contour, ensuring even pigment placement. Apply a pea‑size amount to the entire face, focusing on cheekbones, brow bone, and jawline, and blend with a damp sponge or brush. Allow the primer to set for 30–60 seconds; this locks in moisture and creates a micro‑texture that holds the product. For extra longevity, add a setting spray after the primer; a light mist seals the base and reduces transfer. Remember the primer’s finish—glossy, satin, or matte—should match your desired look. A satin primer gives a subtle sheen that enhances natural glow, while a matte finish is ideal for a flawless, air‑brush effect. Test a small patch first to ensure your skin reacts well, especially if you have sensitivities or allergies. With the right primer, your highlighter will pop, your contour will stay defined, and your makeup will stay fresh all day. If you prefer a dual‑action primer, look for formulas that combine mattifying and hydrating ingredients; these provide balanced control across different skin zones. For a touch of shimmer, a primer with fine mica particles can pre‑highlight the high points, giving your face a subtle glow even before the highlighter is applied. Enjoy the glow.
Application Techniques
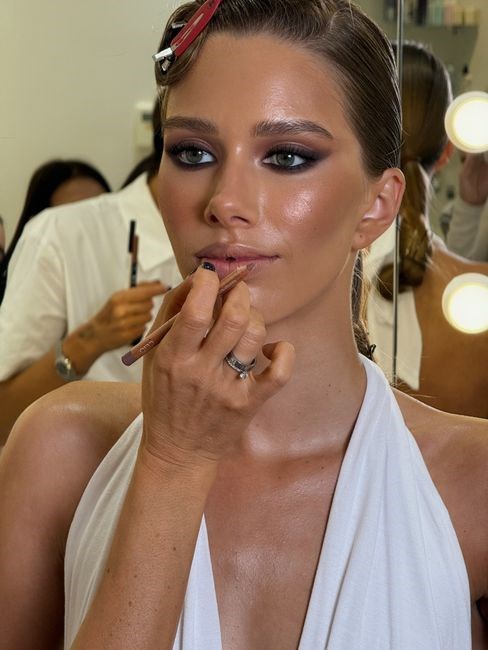
Apply highlighter to the highest points—cheekbones, brow bone, cupid’s bow—using a fluffy brush. Contour just below, blending into hollows. Use a stippling motion for natural shadows. Finish with a light dusting of translucent powder to set. Blend with a damp sponge for a flawless finish now.!!
4.1 Placement of the Highlighter
Choose a shade that matches your skin tone: warm champagne for a natural glow, cool pearl for a frosty look, or bold gold for drama. Highlight the face’s high points to lift the complexion. Start at the cheekbone apex, just above the ear, and sweep upward toward the temple to create a subtle lift. Highlight the brow bone by brushing between the eyebrows, slightly above the crease, and sweep toward the outer eye corner to open the eyes. For a halo effect, dot the inner eye corners with a touch of highlighter. The cupid’s bow receives a small angled dot on the upper lip and lower lip’s cupid’s bow; blend quickly to avoid harsh lines. A thin line on the nose bridge can slim the nose. Add a touch to the chin’s center for balance. Blend each step with a damp sponge or clean brush for a seamless transition. The result is a natural, lit‑from‑within glow that enhances features without over‑shining.
Choosing the right brush is essential. A dense, angled brush with a slightly tapered tip allows precise placement on the brow bone and cupid’s bow, while a fluffy, round brush works best for the cheekbones and inner eye corners. If you prefer a powder highlighter, use a small, fine brush to apply a light dusting; for liquid or cream formulas, a damp sponge can help diffuse the product and avoid a glittery finish. Always start with a small amount of product, layering as needed; Over‑application can lead to a shiny, unnatural look, especially on oily skin types. For matte skin, a light dusting of translucent powder after highlighter application can help control excess shine. When applying to the chin, use a small, circular motion to blend the highlighter into the base makeup, ensuring the glow is subtle and not too pronounced. This technique works well for both day and night looks, providing a versatile, radiant finish that complements any makeup style. Remember, build gradually, checking in natural light to avoid over‑bright spots, and use a clean brush to feather edges for seamless blending today.!!
4.2 Placement of the Contour
Start by selecting a contour shade that is 2–3 shades darker than your natural skin tone. A matte, cool‑tinted powder or a creamy contour works best for sculpting. The goal is to create shadows that mimic the face’s natural hollows. Begin at the jawline: using a small, angled brush, apply the product along the lower edge of the jaw, following the natural curve. Blend outward toward the ear and back toward the temple, feathering the line to avoid a harsh edge. Next, target the temples: place a small dot of contour just above the brow, slightly below the outer eye corner, and blend toward the hairline. This step lifts the eyes and balances the brow. For the cheekbones, start at the midpoint of the cheek, just below the eye socket, and sweep upward toward the ear. The product should sit in the hollows, not on the skin’s surface, to create depth. If you have a prominent nose, contour the sides: apply a thin line along the bridge, from the root to the tip, blend outward, keeping the line subtle. The chin can be contoured by applying a small amount along blending upward toward the neck. Always blend in a circular motion, using a damp brush or a stippling technique to soften the edges. The final look should appear natural, with shadows that enhance the face’s structure without looking overly dramatic. Test the contour in natural light to ensure it harmonizes with the rest of the makeup. Adjust intensity as needed, building gradually for a polished finish., !!!
Finishing and Maintenance
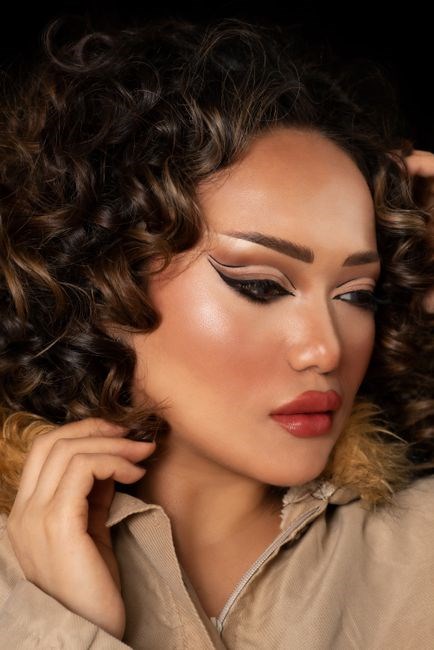
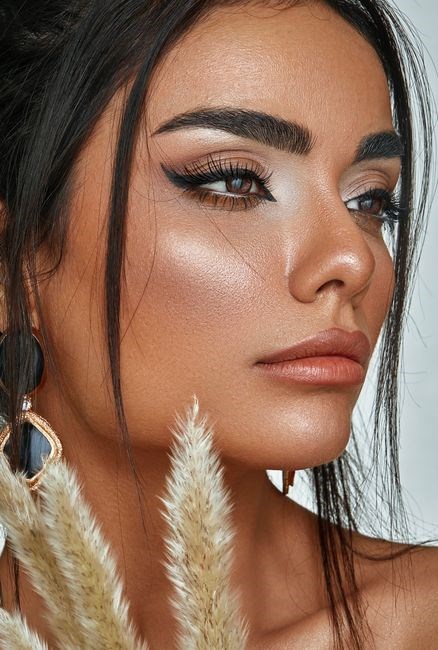
Set the look with a translucent powder, lightly dusting the high‑lighted areas to lock shimmer. Use a fluffy brush for even coverage. Finish with a translucent setting spray to fuse layers, then blot excess with a tissue for a matte, long‑lasting glow. Add a light dusting of powder for hold!!!
5;1 Setting Powder and Blending
After applying your highlighter and contour, the next step is to lock everything in place with a setting powder. Choose a translucent or lightly tinted powder that matches your skin tone to avoid a cakey finish. Lightly dust the powder over the high‑highlighted areas to tame excess shimmer, then sweep it across the contour zones to soften the shadows. Use a fluffy, wide‑bristled brush to apply the powder in gentle, circular motions, ensuring you blend the edges where the highlighter meets the contour. This technique prevents harsh lines and creates a seamless transition. For added durability, set the entire face with a fine‑mesh puff, lightly pressing the powder into the skin. The powder should be applied in a thin layer—just enough to set the makeup without adding extra texture. Finally, use a small, clean brush to re‑blend any areas that may have become slightly opaque, restoring the natural glow of the highlighter while maintaining the depth of the contour. The result is a polished, long‑lasting finish that looks fresh all day. To keep the glow intact, you can apply a translucent setting spray over the powder to lock the pigment in place. If you prefer a matte finish, lightly dust a matte powder over the high‑highlighted zones, but be careful not to over‑apply, which can dull the radiance. For touch‑ups, carry a small compact of setting powder and a compact highlighter to refresh the look without disturbing the contour. Remember to blend any powder that has settled into the creases to maintain flawless appearance.
5.2 Touch‑Up Tips for All‑Day Wear
Maintaining a flawless highlight and contour throughout the day requires a few strategic moves. First, carry a small translucent setting spray to refresh the base; a quick mist over the face lifts the powder and re‑activates the highlighter without disturbing the contour lines. Second, use a clean, small brush to re‑apply a touch of highlighter to the cheekbones, brow bone, and cupid’s bow; this re‑ignites the glow while keeping the shadows intact. Third, for the contour, a quick swipe of a matte powder or a tiny dab of contour product on the jawline and temples can deepen the shadows without over‑applying. Fourth, keep a compact of setting powder handy; a light dusting on the T‑zone and around the eyes will lock the makeup and prevent shine. Finally, avoid touching the face with dirty hands; instead, use a clean tissue or a small brush to dab away excess oil. If you’re in a humid environment, consider a mattifying primer before applying powder to reduce shine. Also, a small amount of translucent powder on the bridge of the nose can prevent the highlighter from bleeding into the T‑zone. Remember to blot gently with a tissue to avoid smudging the highlighter. By following these simple steps, you can preserve the sculpted look and keep your face looking fresh and polished from morning to night.