
Welcome to the Hormann Garage Door Opener Manual. This guide provides essential instructions for installation, operation, and troubleshooting of Hormann garage door openers. It covers various models, including ProMatic 2, Supramatic E 9, and EcoMatic, ensuring smooth functionality and addressing common issues for optimal performance.
1.1 Importance of the Manual for Installation and Operation
The Hormann garage door opener manual is essential for ensuring proper installation, safe operation, and troubleshooting. It provides detailed step-by-step instructions, safety guidelines, and maintenance tips to maximize the lifespan of your opener. By following the manual, users can avoid potential risks, ensure compliance with safety standards, and optimize performance. The manual also includes troubleshooting tips to address common issues, helping you resolve problems quickly and efficiently. This comprehensive guide is indispensable for both novice and experienced users, guaranteeing a smooth and reliable experience with your Hormann garage door opener.
1.2 Overview of Hormann Garage Door Opener Models
Hormann offers a diverse range of garage door opener models, each designed to meet specific needs. The ProMatic 2 is known for its reliability and ease of use, while the Supramatic E 9 features advanced technology for enhanced performance. The EcoMatic model emphasizes energy efficiency and quiet operation, making it ideal for environmentally conscious users. Each model is engineered with innovative features, ensuring durability and smooth functionality. Understanding the unique characteristics of each opener helps users choose the best option for their garage door system.

Popular Hormann Garage Door Opener Models
Hormann offers several popular garage door opener models, including the ProMatic 2, Supramatic E 9, and EcoMatic. Each model is designed for reliability, advanced features, and energy efficiency.
2.1 ProMatic 2: Features and Functionality

The ProMatic 2 is a high-performance garage door opener designed for sectional doors. It features a powerful DC motor with a steel-reinforced belt drive, ensuring quiet and smooth operation. With advanced smart technology, it offers energy efficiency and compatibility with Hormann’s BiSecur remote controls. The system includes safety features like automatic door reversal and obstacle detection. It also supports wall consoles and wireless keypads for added convenience. The ProMatic 2 is known for its durability and ease of use, making it a top choice for homeowners seeking reliable garage door automation.
2.2 Supramatic E 9: Advanced Technology and Benefits
The Supramatic E 9 is a cutting-edge garage door opener designed for optimal performance and convenience. It features a high-torque DC motor with a robust belt drive system, ensuring smooth and quiet operation. This model includes advanced safety features like automatic obstacle detection and soft start/stop functionality. The Supramatic E 9 is energy-efficient and compatible with Hormann’s BiSecur remote controls, offering secure and reliable operation. Its sleek design and user-friendly interface make it a top choice for modern homeowners seeking advanced garage door automation solutions.
2.3 EcoMatic: Energy Efficiency and Performance
The EcoMatic garage door opener is designed for energy efficiency and reliable performance. It features a powerful DC motor paired with a durable belt drive system, ensuring smooth and quiet operation. With a capacity to handle doors weighing up to 550 pounds, the EcoMatic is ideal for residential use. Its energy-efficient design minimizes power consumption while maintaining robust functionality. Compatible with Hormann’s remote controls, such as the HS1 and HS4 models, the EcoMatic offers convenient operation and seamless integration with smart home systems, making it a practical choice for eco-conscious homeowners.

Components and Accessories of Hormann Garage Door Openers
Hormann garage door openers come with a range of components and accessories, including remote controls, wireless keypads, and wall consoles, designed for convenience and ease of use.
3.1 Remote Controls: HS1, HS4, and HSM4 Models
The Hormann HS1, HS4, and HSM4 remote controls offer convenient operation of your garage door opener. The HS1 is a single-button remote, ideal for basic use, while the HS4 features four buttons for controlling multiple doors or functions. The HSM4 is a compact mini transmitter, perfect for easy carrying. All models use BiSecur radio technology for secure communication. Programming is straightforward, and the remotes are compatible with most Hormann garage door openers. These remotes provide reliable performance and enhance the overall user experience with their intuitive design.
3.2 Wireless Keypad: FCT3B-315 Model
The Hormann FCT3B-315 wireless keypad provides a convenient and secure way to operate your garage door. Its backlit display ensures visibility in low-light conditions, and the weather-resistant design makes it durable for outdoor use. The keypad uses BiSecur radio technology for encrypted communication, ensuring security. It allows up to 10 programmable PINs for multiple users. Compatible with most Hormann garage door openers, the FCT3B-315 is easy to install and offers reliable performance. Regular cleaning of the keypad and battery replacement ensure optimal functionality. This accessory enhances your garage door opener’s convenience and security.
3.3 Wall Console Station: PB3 Model
The Hormann PB3 wall console station offers a sleek and intuitive way to control your garage door opener. Featuring a backlit display and easy-to-use buttons, it provides clear visibility and convenient operation. The PB3 is compatible with various Hormann models, including ProMatic and Supramatic openers. Its compact design allows for easy installation on any wall, and it includes a mounting bracket for secure placement. The console also supports additional functions like lighting control, enhancing your garage’s overall functionality. Regular cleaning of the buttons ensures optimal performance, making it a reliable accessory for your garage door system.

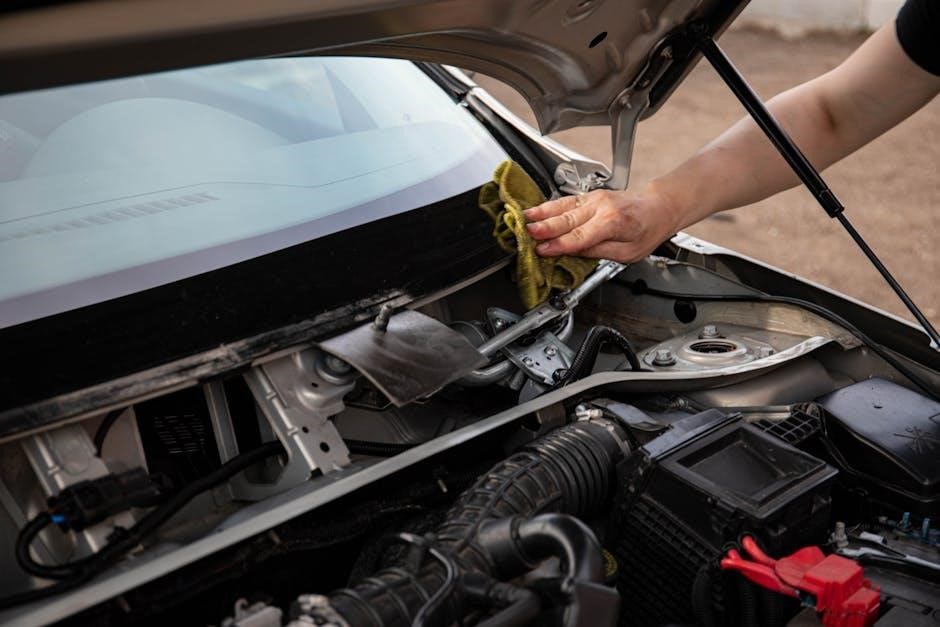
Installation Instructions

Follow the step-by-step guide to install your Hormann garage door opener, ensuring proper alignment and secure mounting. Use a drill and level for accurate placement. Always adhere to safety guidelines during installation to prevent accidents and ensure smooth operation.
4.1 Required Clearance and Preparation
Ensure adequate clearance for the garage door opener installation. Maintain a minimum of 36 inches above the garage door for the opener and tracks. Securely fasten the opener to a sturdy beam or truss to prevent movement. Properly align the door and opener to ensure smooth operation. Check spring tension and balance the door before installation. Clean the area and remove obstructions to allow easy access during setup. Follow manufacturer guidelines for precise measurements and preparation steps to ensure a safe and efficient installation process.
4.2 Step-by-Step Installation Guide
Begin by assembling all components and tools; Mount the opener securely to the ceiling, ensuring proper alignment with the garage door. Attach the door bracket to the garage door and connect the opener’s arm. Install the tracks according to the manufacturer’s measurements. Connect the motor and control systems, ensuring all wires are securely fastened. Test the door’s balance and spring tension. Program the remote controls and wall console. Perform a safety check and test the opener’s operation. Refer to the manual for specific model instructions, such as for ProMatic 2 or Supramatic E 9.
Troubleshooting and Maintenance
This section covers common issues, solutions, and maintenance tips for Hormann garage door openers. Check power supply, sensor alignment, and worn parts. Regular maintenance ensures longevity.
5.1 Common Issues and Solutions

Common issues with Hormann garage door openers include the door not closing fully, remote control malfunctions, or unusual noises. For a door that won’t close, check sensor alignment and ensure no obstructions. If the remote isn’t working, replace the batteries or reprogram it. Strange noises may indicate worn parts, such as belts or rollers, which should be inspected and replaced. Regular lubrication of moving parts and cleaning sensors can prevent many issues. Always refer to the manual for specific troubleshooting steps and solutions.
5.2 Resetting the Garage Door Opener System
Resetting your Hormann garage door opener system can resolve various operational issues. Start by disconnecting the power source and waiting for 30 seconds to clear the memory. Reconnect the power and test the system. For specific models like ProMatic 2 or Supramatic E 9, refer to the manual for exact reset procedures. Always ensure the system is properly calibrated after a reset to maintain functionality. If issues persist, contact a professional for assistance. Regular resets can help maintain optimal performance and reliability.

Safety Precautions and Warnings
Always follow safety guidelines to prevent accidents. Ensure proper installation and maintenance. Keep children away from operating parts. Regularly inspect springs and cables for wear. Compliance with industry standards ensures reliable operation and safety.
6.1 General Safety Guidelines
Always read the manual thoroughly before installation or operation. Ensure proper installation by a qualified professional. Regularly inspect springs, cables, and rollers for wear. Keep children and pets away from moving garage doors. Never attempt to modify or repair the opener without following manufacturer guidelines. Avoid operating the door if it shows signs of damage or malfunction. Always test the safety reversal feature after installation. Ensure all users understand how to operate the opener safely. Compliance with these guidelines ensures safe and reliable operation of your Hormann garage door opener.

6.2 Warnings for Proper Usage and Maintenance
To ensure safe and proper operation, avoid using the garage door opener in dangerous situations, such as when the door is damaged or improperly balanced. Never allow children to play with remote controls or keypad. Always test the safety reversal feature after installation or maintenance. Keep the opener and its components clean and free from obstructions. Do not modify the opener or use unauthorized parts, as this may void the warranty or cause malfunctions. Regularly inspect and replace worn or damaged remote batteries to prevent operational issues. Follow all FCC guidelines for proper device usage.